Whether it’s due to age, harsh weather conditions, or unforeseen circumstances, a damaged garage roof can become a significant issue if not addressed promptly. Fortunately, repairing your garage roof can be a manageable DIY project if you’re willing to invest some time and effort. In this comprehensive article, we’ll walk you through a detailed guide that will help you repair your garage roof.
1. Diagnose the Problem
Just as a doctor must first diagnose a patient before prescribing treatment, you need to identify the exact issue with your garage roof. Common problems include leaks, missing or damaged shingles, sagging, or structural damage.
For example, a homeowner in Denver noticed water stains on her garage ceiling after a snowstorm. Upon inspection, she found that several shingles were missing, allowing the melted snow to seep into the roof.
2. Gather Your Materials and Tools
The necessary materials will depend on the problem and the type of roof. Commonly, you’ll need replacement shingles or roofing material, roofing nails, a hammer, a pry bar, a ladder, safety gear, and sealant.
In the Denver homeowner’s case, she needed replacement asphalt shingles, a hammer, roofing nails, and roofing sealant to fix her roof.
3. Safety First
Before you start, ensure you have the necessary safety equipment, such as non-slip shoes, gloves, and safety glasses. Also, always have someone nearby in case of an emergency.
Here are some essential safety tips when self-repairing your garage roof:
Use the Right Safety Gear
Proper safety gear is your first line of defense against potential harm. This includes:
- Non-slip footwear: Choose boots or shoes with good traction to avoid slipping on the roof surface.
- Work gloves: They protect your hands from cuts or abrasions and can improve your grip.
- Safety glasses: These protect your eyes from debris or dust that might fall while working.
- A hard hat: It offers protection in case something falls from the roof.
Use a Stable Ladder
When climbing onto your garage roof, always use a sturdy and reliable ladder. It should be tall enough to reach the roof without overstretching. If possible, have someone hold the ladder steady while you climb up and down.
Never Work in Bad Weather
Never attempt to repair your roof in inclement weather. Rain, wind, or snow can make the roof surface slippery and visibility poor, significantly increasing the risk of accidents. Always plan your DIY roof repairs for a dry, calm day.
Keep Your Work Area Clean
A cluttered workspace can be a tripping hazard. Try to keep your tools organized and roof area clean. Regularly clear away debris such as leaves, twigs, or old roofing materials.
Work Methodically
Avoid rushing while working on your roof. Take your time, work methodically, and never take unnecessary risks, such as reaching too far instead of safely moving your ladder.
Use Fall Protection
If your garage roof is particularly high or steep, consider using a fall protection system. This could include a safety harness that’s securely anchored, a guardrail system, or safety netting.
Stay Aware of Your Surroundings
Always be aware of where you are on the roof to avoid accidentally stepping off the edge or on a weak spot. Also, be mindful of overhead power lines, which can pose a serious risk.
Know Your Limits
Lastly, it’s crucial to know your limits. If a job seems too big, too complex, or you simply don’t feel comfortable doing it, don’t hesitate to hire a professional. Roofing professionals have the training, equipment, and experience to handle roof repairs safely and effectively.
4. Repairing Leaks
Leaks are common and can often be spotted as water stains on the interior of the garage. The cause can range from small holes to damaged shingles.
For instance, consider a homeowner in Miami who noticed a persistent leak in his flat garage roof every time it rained. Upon inspection, he found a small puncture in the roofing material. His solution was to apply a generous amount of roofing sealant over the puncture, ensuring it was well covered and waterproof.
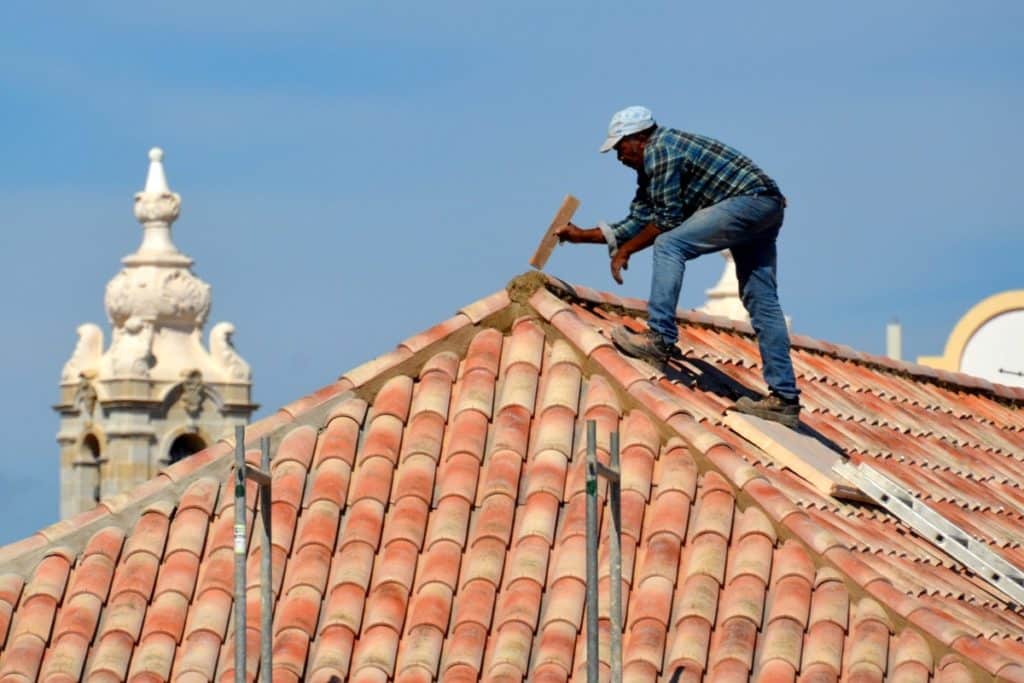
5. Replacing Damaged or Missing Shingles
Missing or damaged shingles can expose your roof to weather elements, leading to leaks or further damage. To replace them, carefully remove the damaged shingle using a pry bar, being careful not to damage the surrounding shingles. Then, slide a new shingle into place and secure it with roofing nails. Finish by applying a layer of roofing sealant around the nails to prevent leaks.
This was the approach the Denver homeowner took. She replaced the missing shingles and secured them with roofing nails, then applied sealant around the nails for extra protection.
6. Repairing Structural Damage
In some cases, you might have structural damage – such as a sagging roof or damage to the rafters. In these situations, it’s best to call a professional. The process to repair structural damage is often complex and requires expertise to ensure the integrity of the roof.
Consider a homeowner in San Francisco who discovered his garage roof was sagging. Upon hiring a professional, it was found that one of the main supporting beams had been compromised by termites. The professional replaced the beam and treated the area to prevent future termite infestations.
7. When to Call a Professional
While many garage roof repairs can be DIY projects, certain situations require a professional’s touch. This includes major structural damage, extensive leaks, or when you’re not comfortable doing the repairs yourself. Always prioritize safety and the longevity of your roof.
Repair My Garage Roof: Conclusion
Repairing your garage roof is a vital aspect of home maintenance. Whether you’re dealing with a minor leak or replacing a few shingles, a well-maintained roof protects your garage and the items stored within. Remember, if a repair task seems too complex or dangerous, don’t hesitate to call a professional roofer.