
Gardening is a captivating hobby that not only beautifies our surroundings but also provides immense satisfaction and relaxation. But, have you ever considered blending this relaxing pastime with sustainable practices? Upcycling, or creatively reusing waste materials, is a way to make your gardening more eco-friendly. And surprisingly, common household items like Pringles cans can be your next gardening tool. This article will explore the unique yet practical ways on how to use Pringles cans for gardening.
Why Use Pringles Cans for Gardening?
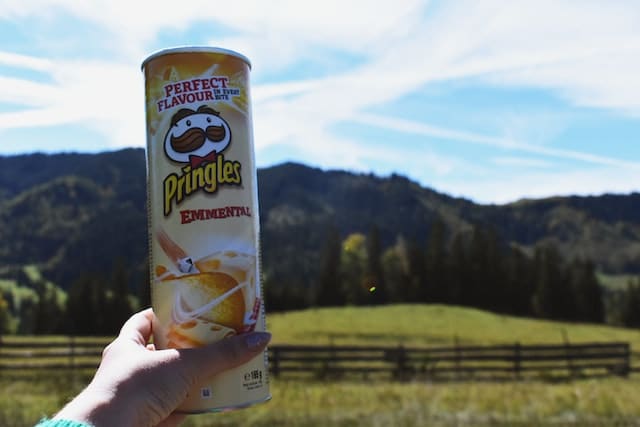
Pringles Cans: More Than Just Snack Containers
You may see Pringles cans as mere snack containers, but these long, cylindrical tubes can be of more use than just satisfying your chip cravings. Their shape and size make them perfect for accommodating different plant types and seedlings. They are sturdy, lightweight, and come with a cover, offering numerous creative applications in gardening.
The Eco-friendly Appeal
In addition to their practical size and shape, upcycling Pringles cans contribute to a sustainable and cost-effective gardening practice. Instead of purchasing new pots or seed trays, you can repurpose these cans, thereby reducing your environmental footprint. It not only saves you money but also keeps these non-biodegradable cans from ending up in landfills.
How to Prepare Pringles Cans for Gardening
Before you start with your Pringles can garden projects, there are some necessary steps you need to follow:
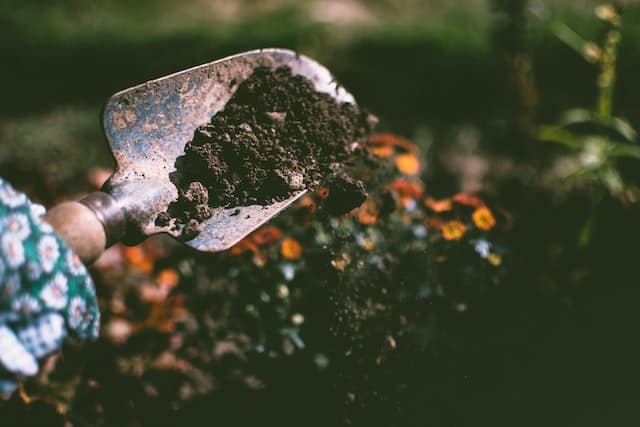
- Cleaning: First and foremost, thoroughly clean the Pringles cans. You wouldn’t want the remnants of salt and oil affecting your plants. Warm soapy water should suffice to clean the interior.
- Drainage holes: Plants require proper drainage to prevent overwatering. With a small drill or a sharp object, make a few holes at the bottom of the can.
- Labeling: If you’re using multiple cans for different plants, labeling them would be beneficial. You can write directly on the can or use sticky labels.
Always handle sharp objects with care to prevent any accidental injuries during the preparation process.
Creative Gardening Projects with Pringles Cans
Having prepared your cans, you’re now ready to transform them into handy gardening tools. Here are some unique project ideas you can undertake:
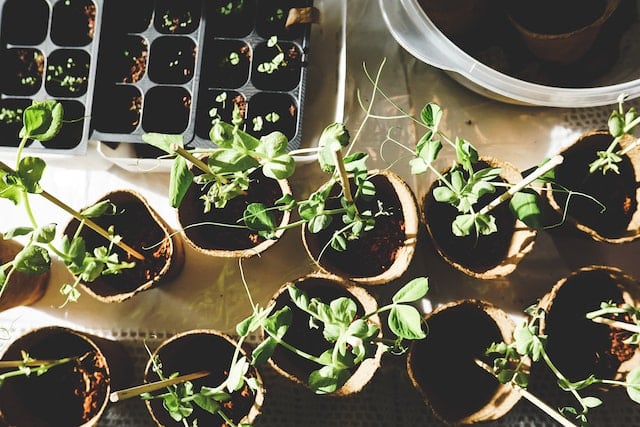
Creating Seed Starters
A Pringles can is an excellent vessel for starting your seeds. Its depth allows roots to grow long and straight, making it particularly useful for plants like beans or tomatoes that develop deep root systems.
Steps:
- Fill the can with seed compost till it’s about two-thirds full.
- Place the seed in the center of the can and cover it with a small layer of compost.
- Water gently, place the lid on, and keep the can in a warm, bright location.
Crafting Vertical Planters
Vertical planters are perfect for those with limited garden space. With Pringles cans, you can create an attractive and space-saving vertical garden.
Steps:
- Make horizontal cuts halfway through the can at varying heights, creating pockets for plants.
- Fill the can with compost.
- Plant small, trailing plants in the pockets, and a larger plant at the top.
Designing Miniature Greenhouses
A Pringles can make an excellent mini greenhouse, perfect for nurturing small seedlings that need a warm, moist environment to grow.
Steps:
- After planting your seed as described in the seed starter section, replace the lid to create a humid environment.
- Once the seedling emerges, remove the lid during the day to prevent overheating and replace it at night to retain warmth.
Building Garden Decorations
With a bit of creativity, Pringles cans can also be turned into attractive garden decorations.
Steps:
- Paint and decorate the cans as desired.
- Use them as edgings for your garden paths, or hang them as wind chimes or lanterns.
Tips for Long-Term Use
Pringles cans, while useful, are not inherently designed for long-term outdoor use. However, with some care and maintenance, you can prolong their life in your garden.
Weatherproofing: Before you start your project, consider weatherproofing the cans using a clear acrylic sealer. It will protect the can from the elements, preventing rust and degradation.
Regular checks: Keep an eye on your Pringles can planters for any signs of wear and tear. If you see rust or any large cracks, it may be time to replace the can.
Placement: While the cans are weatherproofed, placing them in a covered area, such as under a porch or pergola, can help extend their lifespan.
Conclusion
Who knew that a simple Pringles can could offer such versatile gardening possibilities? From seed starters to vertical planters and miniature greenhouses to decorative items, there’s a whole world of eco-friendly creativity to explore in your garden. Not only do you get to enjoy your favorite snack, but you also get a gardening tool out of it – a true win-win situation! Let’s make our gardening practices more sustainable and enjoy the fruits of our creative endeavors.
Photo Gallery
We encourage all readers to share their journey of creating garden wonders with Pringles cans. Send us photographs of your creations, and we will feature them in our gallery. Together, we can inspire others to take up this exciting, sustainable, and fun-filled hobby.